Create Sweet Arrangements

Posted by admin


Instant Eye Candy:  Turn a basic clear glass cylinder into a whimsical surprisingly chic vase! Use one as a stand-alone arrangement on a side table, or run a series of them across a mantel for BIG BOLD COLOR!  Inspiration from Better Homes and Garden.

Directions:
Begin with one or more clear cylinders each measuring at least 3 1/2 inches across and 6 inches tall. Insert a slender bud vase (no taller than the cylinder)inside, and fill the space between the two containers with candy. Stack red and white gumdrops in a striped pattern, line one with peppermint sticks standing straight and tall, and simply fill another with red hots--good for tight or irregular spots.
Next, add water to the bud vase about half full. Cluster a handful of flowers, fastening them near the top with a piece of ribbon or raffia. Cut stems short and insert them into this inner container. Add water every other day so flowers stay fresh!

Reversible Children's Apron

Posted by admin

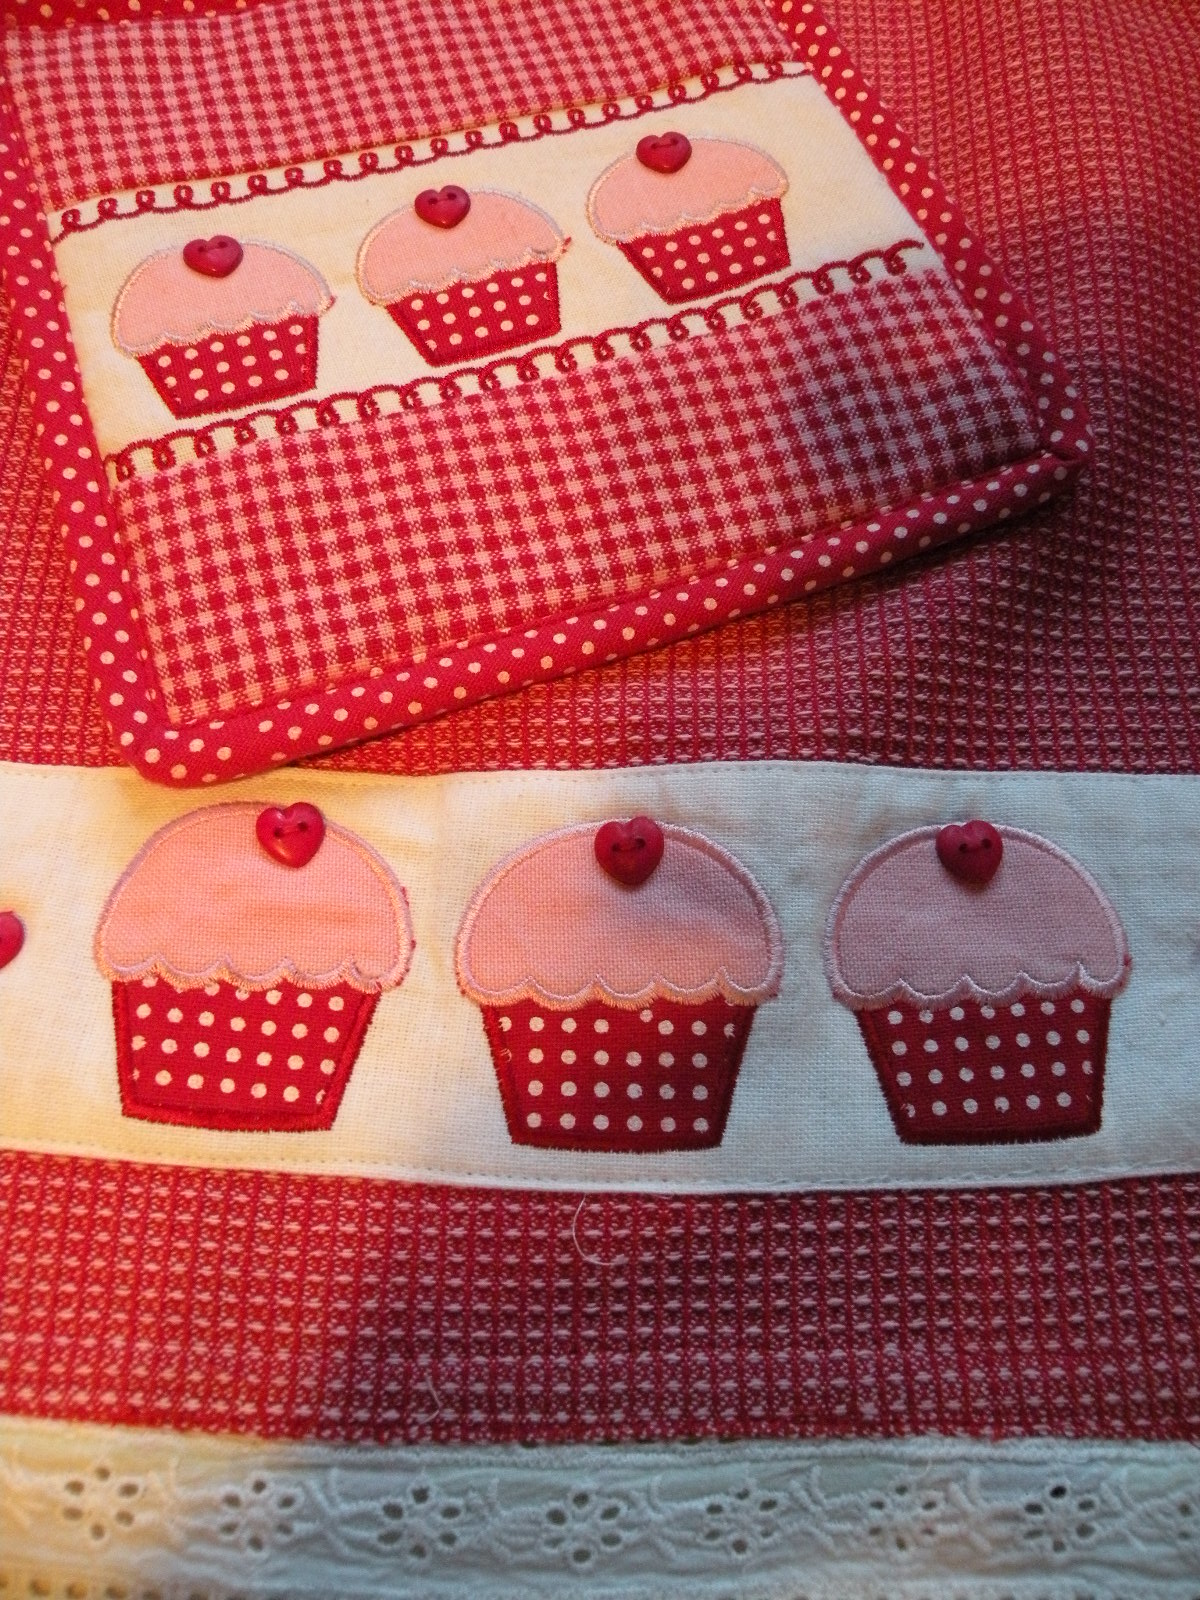
A reversible children's apron made from a cute kitchen towel!
When you find adorable dishtowels, it seems fitting to create a
REVERSIBLE CHILDREN'S CUPCAKE APRON,
especially when you find one that matches your polka dot cupcakes!
A simple Handmade Christmas gift!

Here is the dishtowel that I found at Marshalls with hot pad included
You have seen the cupcakes in previous posts!
You will find a PDF pattern in my Etsy Shop!
Follow along, I will show you the simple steps of transforming your dishtowel
into a reversible children's apron.

1. My dishtowel measures 18 inches X 28 inches, a perfect size for little girls ages 3-10.
I measure(length) how long I want the apron to fit on my little girl,
I cut straight across the dishtowel(width of dishtowel), save the remaining fabric
2. I like to make all of my aprons reversible, so I have chosen a fabric for the reverse side.
3. Fold Dishtowel and Fabric in half, cut the armholes as shown in the above picture.

Now you have the front and back of your apron, including the band
( You will use your remaining fabric for the band that slips over the head)

4.  My band measures 8 inches X 18 inches. 
The band will vary in size depending on your child's height.
5. Fold the band in half two ways and press.
Sew a top stitch on both sides of band

 Optional: embellish your apron with rick rack.
6. To achieve this step, place apron (front and back) right sides together, place your finished band and
rick rack between the fabrics. (your band will be upside down between the fabrics.)
 Sew along the top of the bodice front. Turn your fabrics.
(sorry, I don't have a picture of this step).
When finished:  You will have a front and back that look like the above pictures.
                         7. Continue with Fabric ties of your choice, you can use ribbon,
 I choose to use Fabric for long lasting durability.
 8. Make your fabric ties the same ways as your band only half the size in width.

      9.  Place and Pin your ties on the front of your apron, right sides together with your reverse fabric.
Your fabric ties will be sandwhiched between the front and back fabrics.
10, Sew completely around your apron, leave the hem/bottom of apron open.
Turn your apron, Hem the bottom of apron, the cutest part of the hem is the eyelet trim that
is the trim on the dishtowel.
You are finished!
For a apron that is not reversible -- you can go here
You can also make a half apron for matching Mother/Daughter aprons.
Let the FUN begin!
Happy Cooking, Crafting and Sewing!
Happy Holidays!

Christmas "Sweet Treats"

Posted by admin

                                       Welcome to Sweet Treats
                                                                for Christmas!
                                                            
Celebrate!
How about a Christmas Blizzard? Here's a few Christmas treats, as I mentioned in my previous Christmas post, to prepare for the Christmas Holidays! You can also make these fun treats for all celebrations and Birthdays!

How to make a Christmas Blizzard-

Ingredients:

One large glass (Walmart-under $1.00)
Fuzzy socks, Christmas hat, scarf or anything that can be rolled with the looks of Ice Cream!
Candy Canes
Red Candy Pixie sticks
Christmas candy picks (Hobby Lobby $1.00-50% off)
ribbon
Christmas tags

Recipe:
I used a scarf in my blizzard. I rolled it and puffed up the top to a tip. I added candy canes, pixie sticks and Christmas candy pick. Tie a ribbon, add a tag and welcome Christmas Smiles!


Christmas Swiss Roll:

How to make a Christmas Swiss Roll:
Ingredients:
One Brown Washcloth
One White Washcloth
One Elastic
One Christmas Tag
One Candy Cane
Christmas Ribbon

Recipe: Take one white and brown wash cloth. Fold each washcloth to the middle, roll the two washcloths together.

Place elastic around the folded wash cloths to keep in place. Next, add candy cane, ribbon and Christmas tag.


Enjoy your Swiss Cake Roll with your Christmas Blizzard!


Enjoy!

Seasons Greetings Wreath

Posted by admin


Welcome Friends!
I'm sharing with you a wreath that was inspired by
the beautiful wreath by: 
Better Homes and Garden---Christmas From The Heart Book Volume 12 
(I'm re-posting this wreath from Nov. 2011)

This wreath may look familiar.
                                   (Last year, I showed you this wreath in early November).
           I've received many emails asking for a tutorial or information on how to make this wreath.

I've had this wreath on my Projects To Do List since last year.
I'm happy to say--mission accomplished.


My wreath doesn't look exactly like the one shown.
I changed mine a little bit. 
I attempted this project last weekend. 
It was fun to make and the weather was warm and beautiful.
I made it outside in my driveway, with the echo of birds singing in the trees.
It was with complete JOY to Create!


Let's get started:
I will show you how simple this wreath is to make.

I was lucky to find some of the materials at The Dollar Store.
The total cost of this wreath was around $16.00, but that does not include the wreath.
(I had the wreath on hand. )


Materials:
Bird Nest:  JoAnns
 Birds:  Dollar Tree
Transparent off white ribbon: Dollar Tree
Large Grapevine Wreath-optional spray paint off white

Ornaments approx 17-25:  Dollar Tree
Picks and baby breathe:  JoAnns (50% off)
glue gun and scissors

 Step One:
Break off baby breath and place in grapevine wreath as shown.
Glue with glue fun into place
 Step Two:
Place baby winter white garland bead into grapevine securing into place with glue gun or tucking the picks deep inside the grapevine.
Step Three:
Make bow with transparent ribbon, secure into place with glue gun
attach birds and birds nest below the ribbon ribbon bow on the right side.


Step Four:
place and glue approximately 16-17 small to medium sized ornaments around wreath.

Step Five:
Display your wreath and ENJOY!

A great wreath for indoors and outdoors.
I like this wreath because It is one that can be
displayed through the winter months, long in to 2013!
Seasons Greetings to you all!
Happy Thanksgiving!
I'm truly grateful for Family and Friends.