

Welcome back to A
SIMPLE
Fall/Halloween Wood Craft!
(you may remember the wood pumpkins from last year.)


I want to bring them back, as I am making more!
This project is easy and FUN to CREATE!
At Lowes or Home Depot, you can have your boards pre-cut.
I made my pumpkins with wood scraps (2 X 6) measuring 11 inches length.

Spray your 11 inch wood boards with Krylon Orange Spray Paint

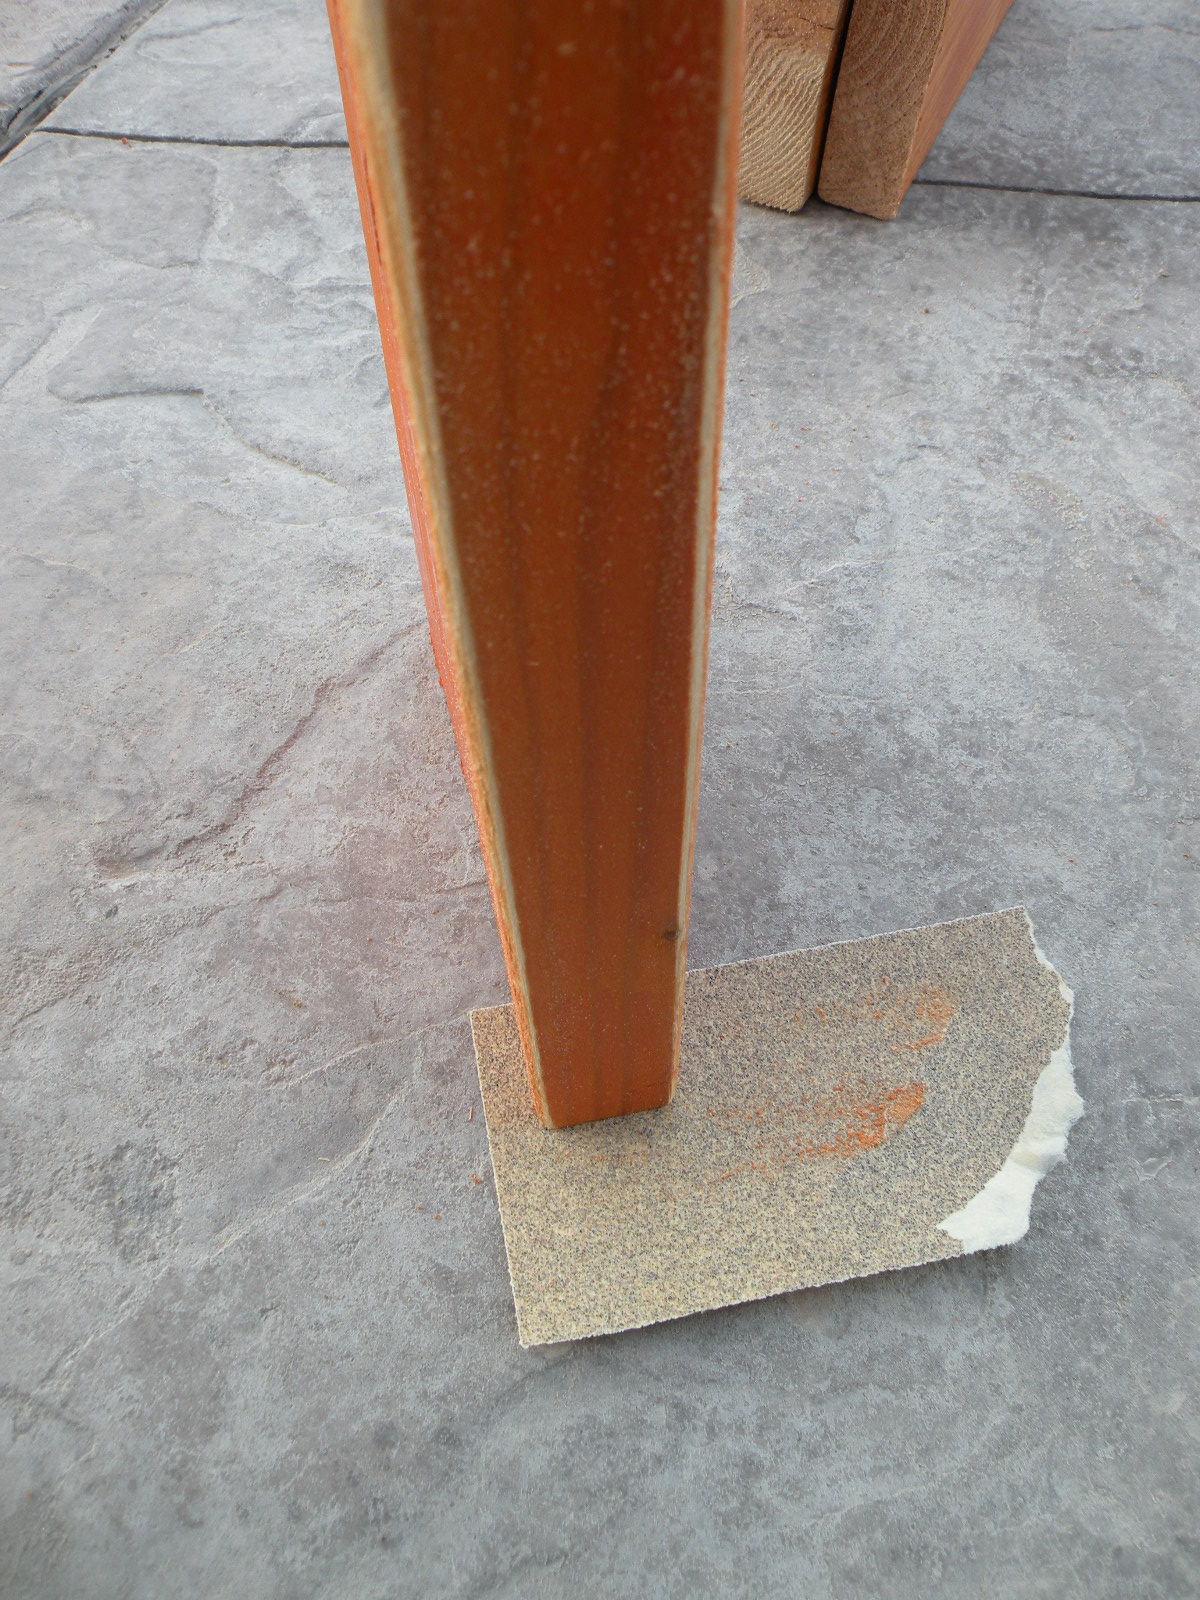
Additional Supplies:
Sand paper for the edges
 |
| Natural Fall Harvest elements from nature are great! Twigs, bird nests, leaves, berries all bring a nice touch! I also included: |
Jute twine, fall ribbon, grapevine wreaths, fall picks, and burlap
for flowers and leaves.
Let the FUN begin!

First: Start with the stem of the pumpkin,
I simply used my glue gun to attach the decorative items.
Second: Add rolled burlap flowers and leaves.
Third: Add Fall picks and ribbon.
There are so many creative ways to embellish your pumpkin!
Have Fun and Enjoy!


Wishing you all a Beautiful Fall!
Enjoy!

Enjoy!
0 comments:
Post a Comment